 DIY
DIY
Trimmings DIY: Crafting a Photo Pillow in 10 Easy…
As we celebrate milestones, a picture indeed can be worth a thousand words. Celebrating graduation is one of these nostalgic times where this notion rings true.
Whether you have a preschooler or a high schooler graduating, it’s certain that there are loads of photos documenting highlights of their year.
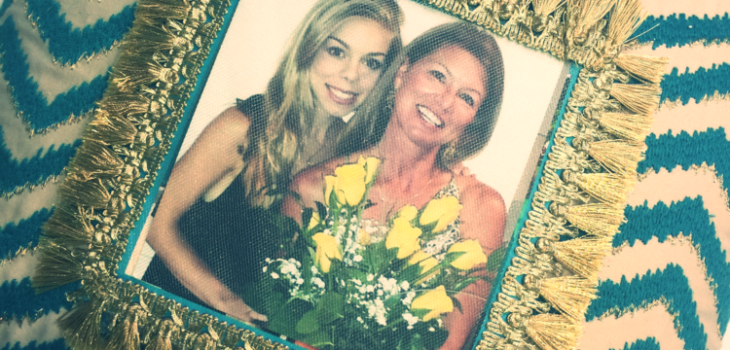
As I was scrolling through Instragram, I came across a lovely picture of my BFF’s daughter Caroline celebrating her high school graduation and it got me thinking about personalizing a gift for her since we live far away and weren’t able to celebrate in person.
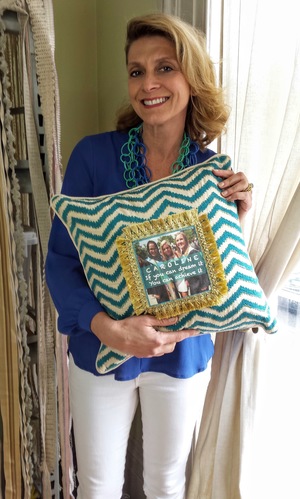
I’d been hearing from her mom, Susan, about preparing for her University move in August, so I decided to make something for her dorm room. I came across this upbeat pillow from Pier 1 and pictured her photo atop surrounded by fringe. Voila! I was inspired!
You can make this photo pillow with trimmings in about one hour. Seriously!
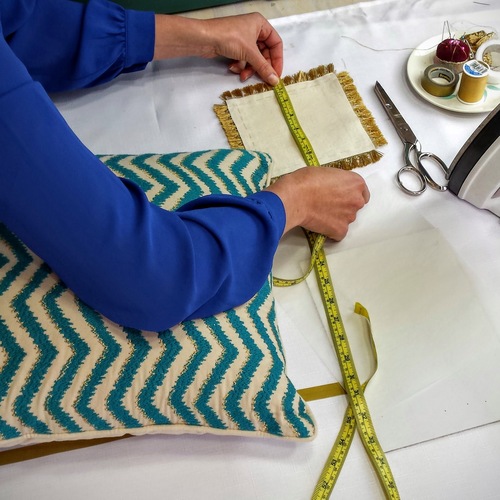
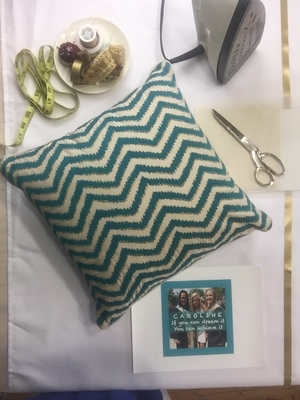 Materials needed:
- A decorative pillow, this is from Pier 1
- A photo
- Photo transfer paper, ironing paper that comes in a kit
- A printer
- Scissors
- Fabric for the photo transfer (I used 8” x 8”)
- Tulle fabric (I used 10” x 8”)
- An iron
- Hand sewing supplies: needle, thread, fuseable bonding web tape, pins
- 1 yd. trimmings (I used fringe)
As I started gathering the materials for this project, I thought it would be cool if Caroline could switch out the photo in her pillow. I decided to make her photo the backdrop for a tulle pocket so she could add a photo of her choice and customize her décor.
10 Easy Steps
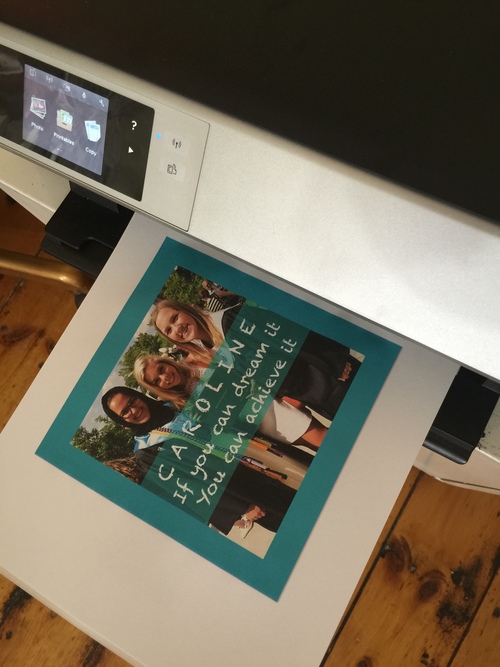
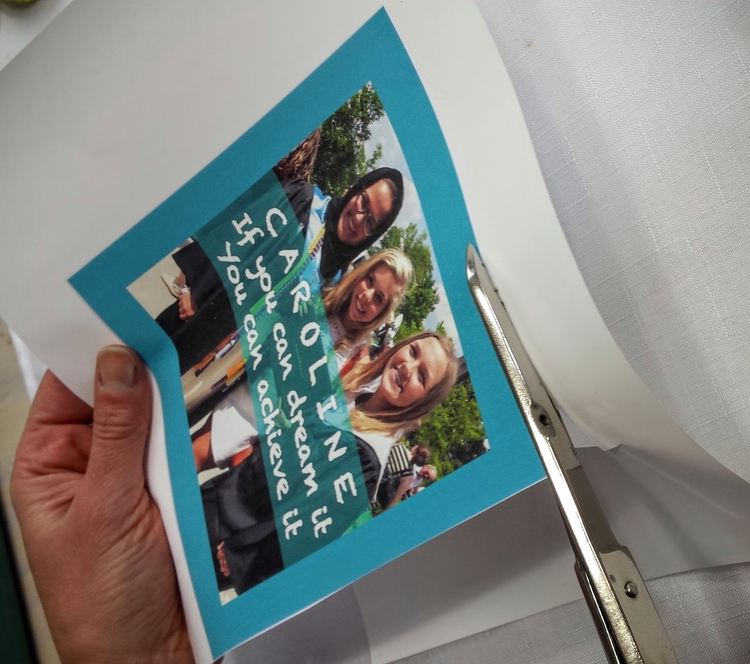
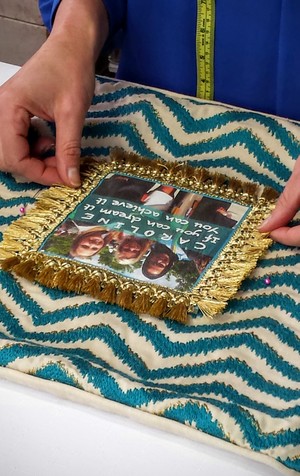
- Select photo and add any text that you might want. Make sure you leave a border for sewing
- Format to a good size for your pillow and print it on photo transfer paper (I designed mine as a square because of the popularity of Instagram’s square format, she could print out any of her photos and slip them right in)
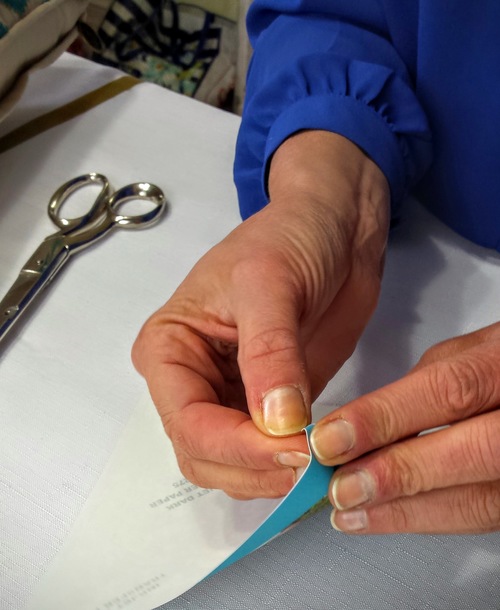
- Trim excess paper and peel off backing
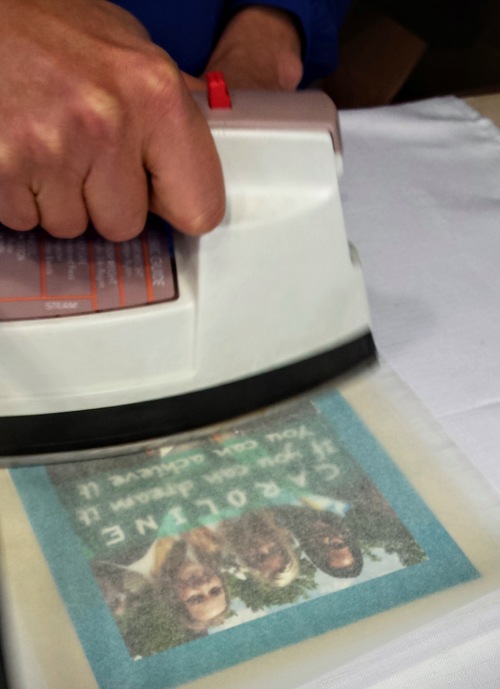
- Iron the photo to fabric following the direction
- Reinforce the top of the tulle window by hemming the top with the fusing tape so it measures down to 8” x 8”
- Fuse the photo fabric and tulle together on 3 sides leaving the top open as the pocket
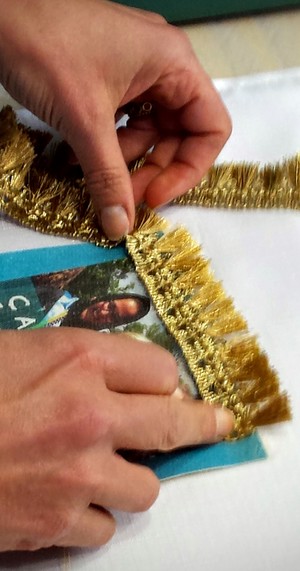
- Sew the trim along the TULLE ONLY of the pocket then sew to both layers of fabric on the other three sides
- Take out the pillow insert so you can sew the pocket on
- Center the photo pocket on the pillow
- Stitch the photo only on the top, leaving the tulle and trim free so it can open as a pocket then stitch other three sides to pillow, sewing through all layers: trim, tulle, photo and pillow
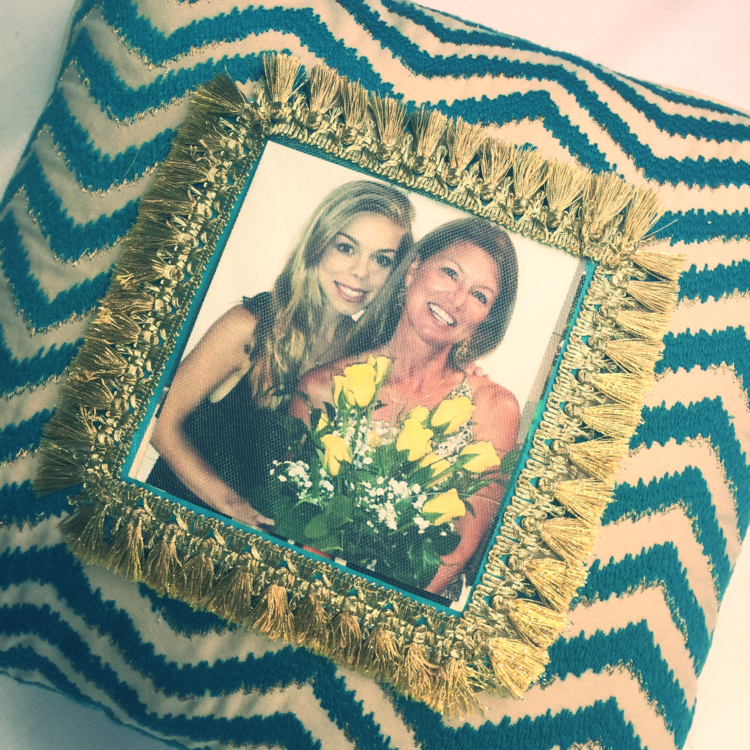
Whether you are celebrating a little one moving up to kindergarten or a momentous high school graduation, personalizing a gift with photography will give someone a keepsake to cherish. Adding the right trim to the project will make your gift couture!
I hope you give this DIY a try, I loved making it and can’t wait to give it to my favorite Grad!
Thank you to smartstuff Furniture for inspiring this content, you can see my original post here >> Grad Gift Crafting