 DIY
DIY
Holiday Maker Party ~ DIY Ribbon Ornaments
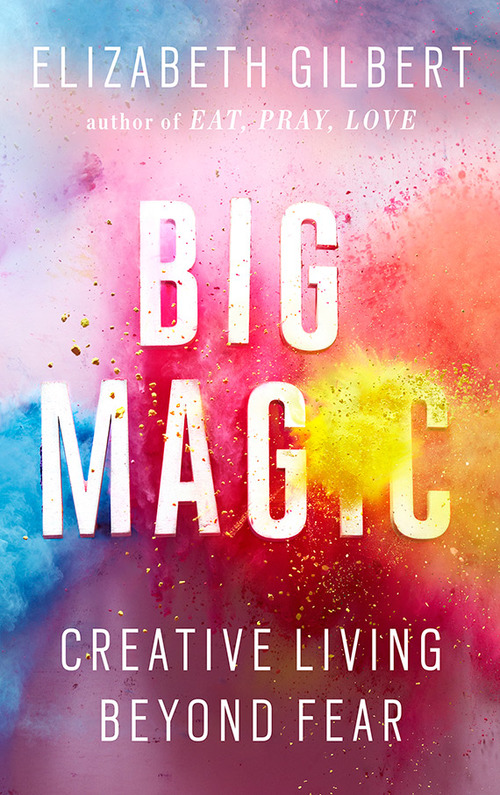
I’ve been thinking about the nature of creativity a lot these days. I recently finished Elizabeth Gilbert’s book Big Magic and it’s one of those books that once you read it, you have a new tool box to pull from and it gets clear which wrench you need to grab for the job. Gilbert speaks to the many versions of fear that hold back our creativity. For me, it can often be perfectionism, which she calls “couture fear” or “fear in high heels” because it is fear disguised. I can see now that it holds me back from trying certain things, afraid of making mistakes. I always tell my kids “mistakes are for learning” and now I have the heightened awareness to take this advice myself. If you don’t have the time to read the book, watch her illuminating video here . My holiday maker party this year and DIY ribbon ornaments really comes out of my musings on this book.
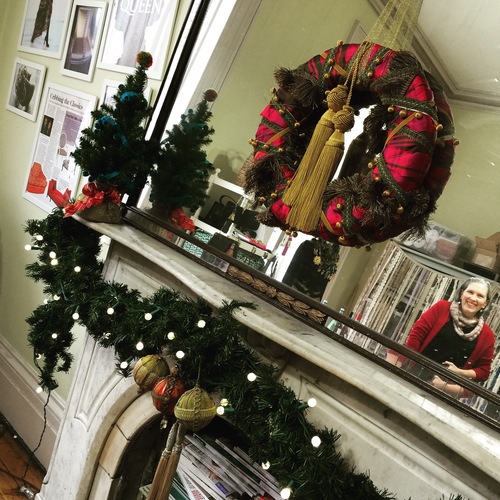
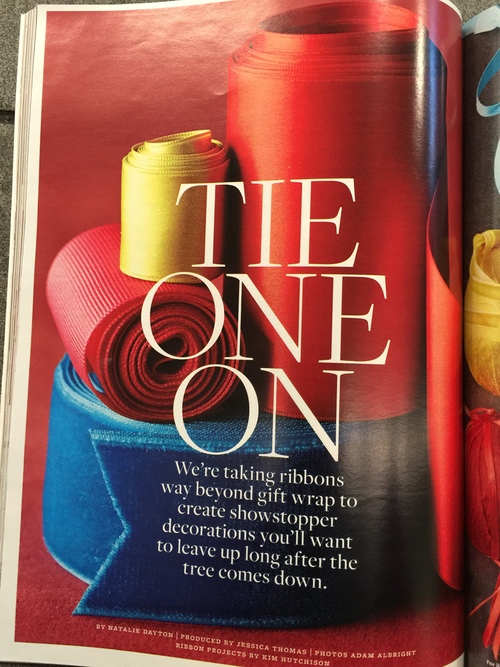
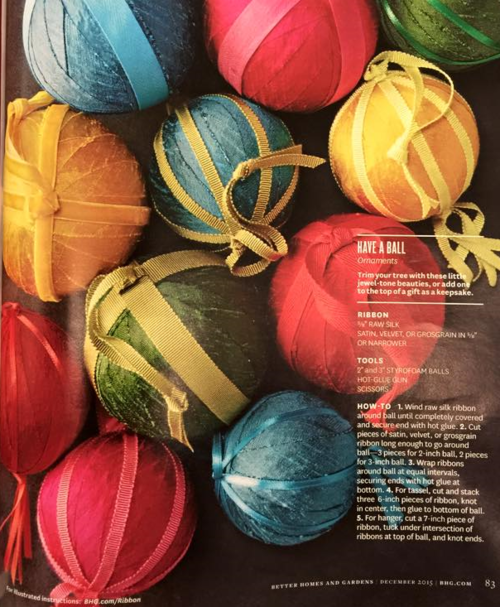
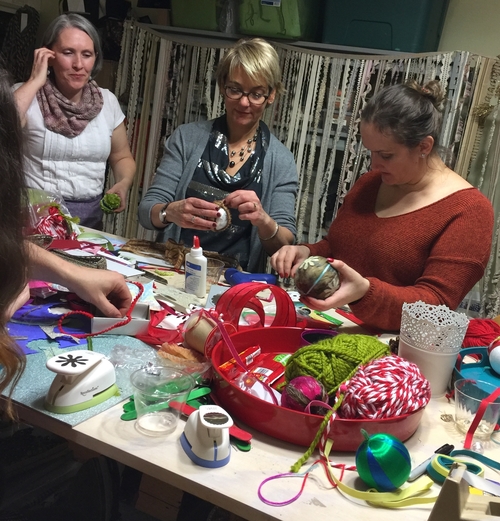
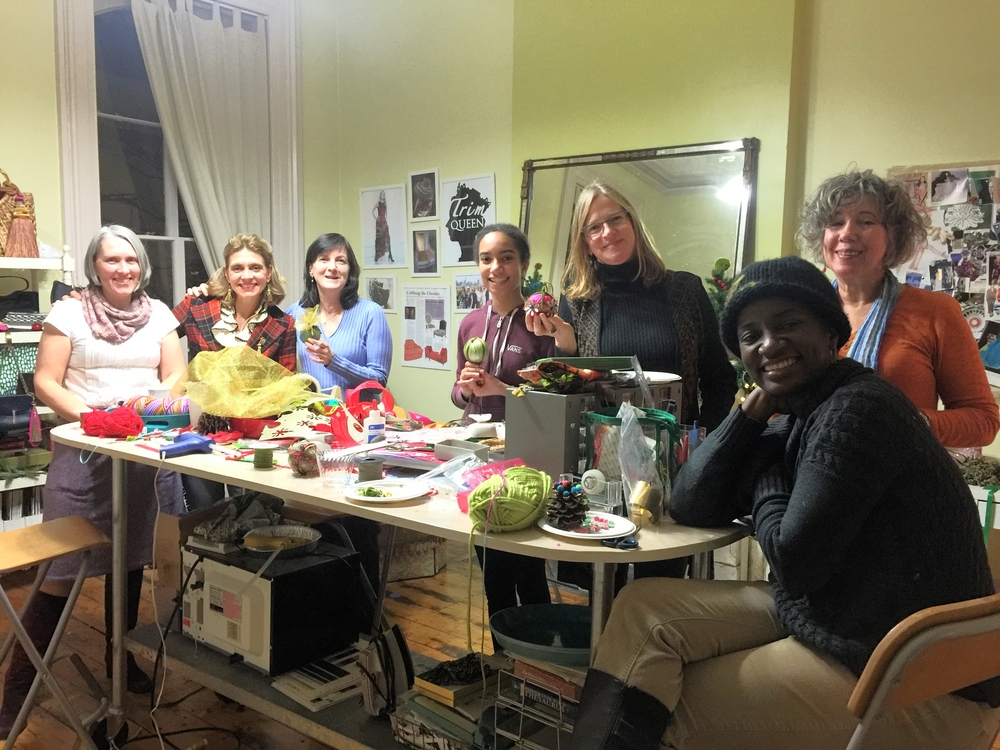
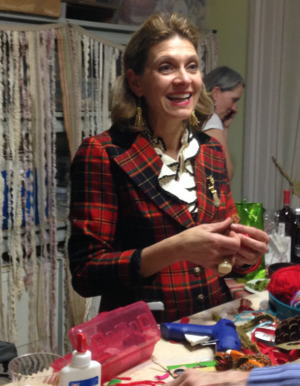
It was six years ago that I started a tradition of having a maker party at holiday time. It began as an evening to bring an unfinished project to work on over cocktails and Christmas music with friends, just three or four of us. I always have a ton of materials on hand that my friends could work with, and inevitably we all would even start something new and bang it out over communal banter, slinging yarns and lots of laughs. We’ve made paper ogees with pompoms, trimmed-out wreaths, paper garlands, and even spent the stolen time wrapping Santa’s gifts, embellished with trimmings of course. This year, when I discovered a fabulous article in Better Homes and Gardens, on ribbon wrapped ornaments called Tie One On, I knew I had my party project pegged. I have been making these DIY ribbon ornaments for years, they take time and focus and it’s the perfect antidote to the holiday crunch. BHG’s versions are so colorful and simple, I knew my friends would be inspired and get into the crafting “zone”.
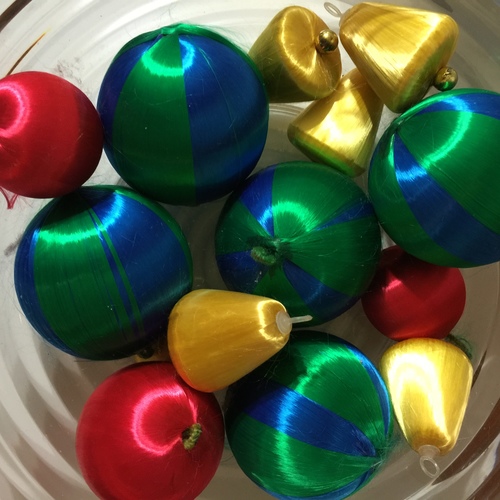
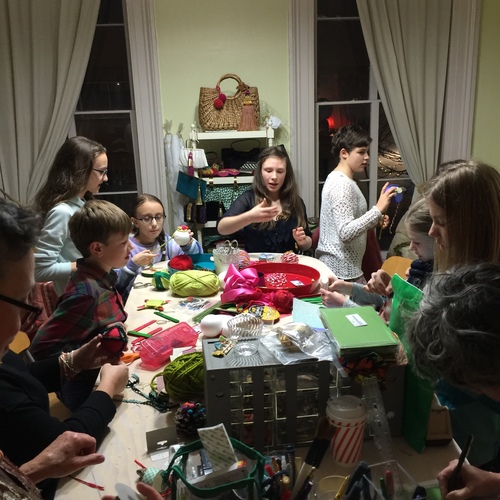
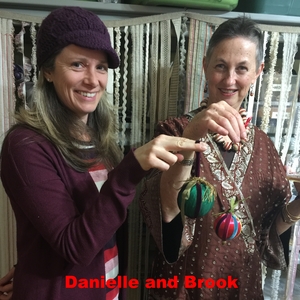
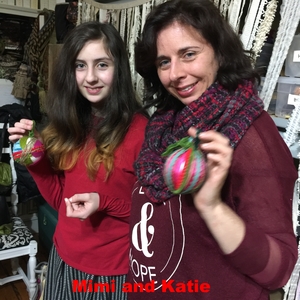
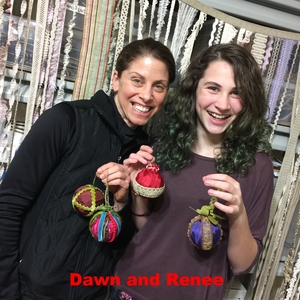
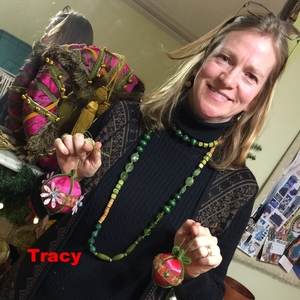
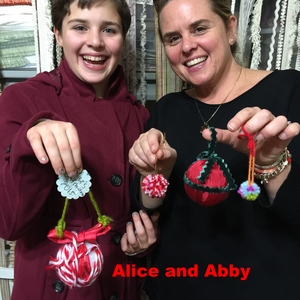
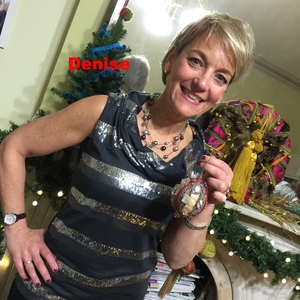
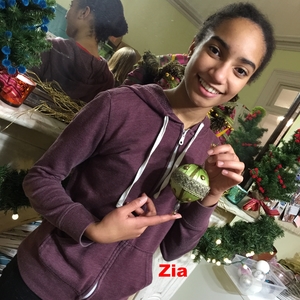
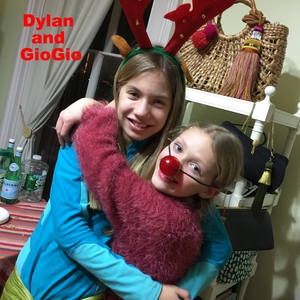
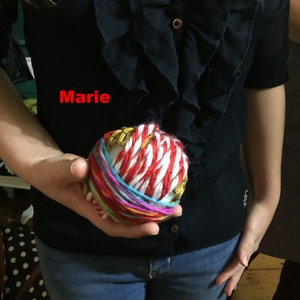
So, one of the thrills I get from my maker parties is seeing how my friends use my materials in totally different ways than I would. My assistant and collaborator Sarah, and I set up the studio with materials at different stations and as friends joined the party, we showed them some options and they just started playing! (Remember my deal with perfectionism? Play is true therapy!) We had fabrics, trimmings, beads, paper, petals, yarn, ribbons, everything in the studio was game! I even picked up these vintage yarn wrapped balls and they were perfect fodder. This year, our children joined in too. Watching everyone work and play with the materials was truly a gift to me, though my buddies probably didn’t realize. Hey guys, now you know!
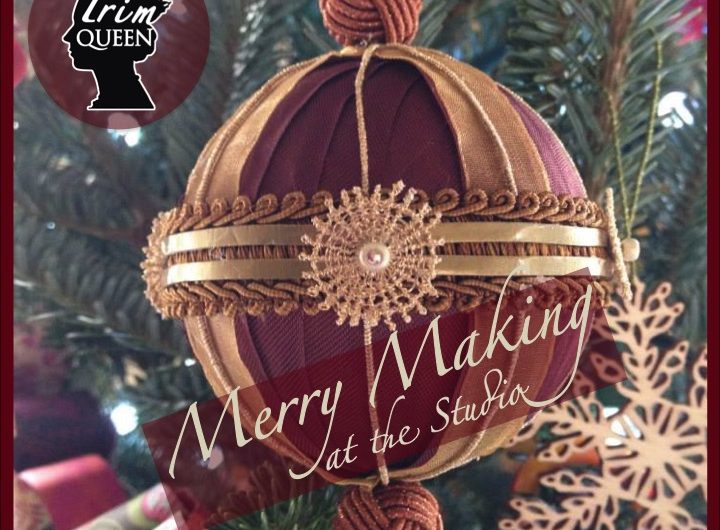
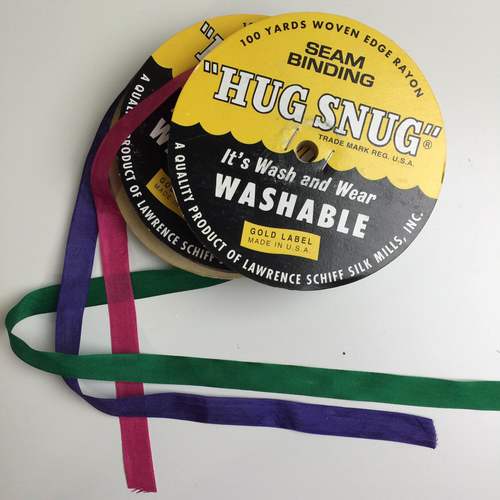
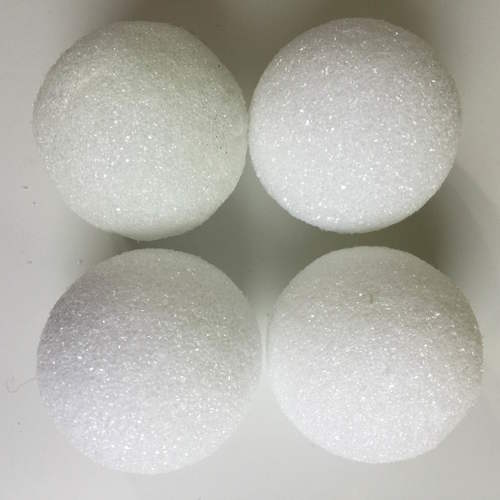
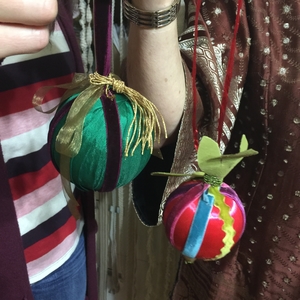
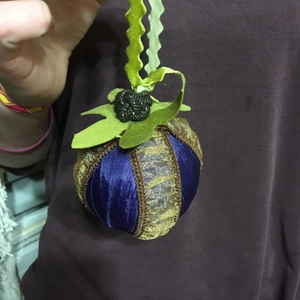
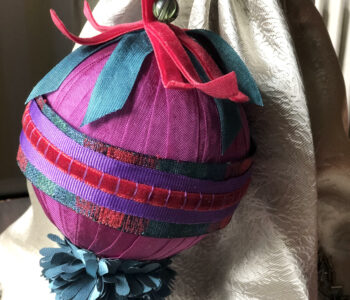
Everyone started by covering a ball with ribbon or yarn. The best results I have found come from using Hug Snug Seam Binding ribbon, tugging a bit as you wrap, crossing at north and south axis of the ball. I used 3 yards of ribbon for a 3″ diameter styrofoam ball. Click below to watch the basic technique to cover the ball for the base of your design. (video credit: Giovanna Phipps)
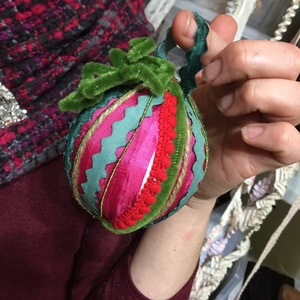
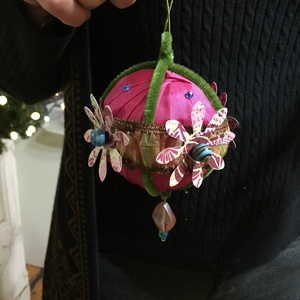
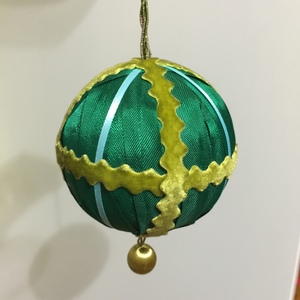
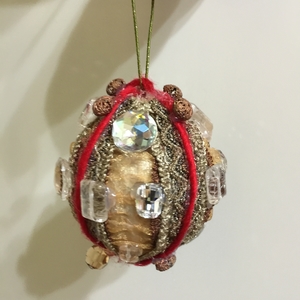
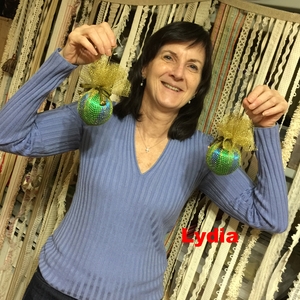
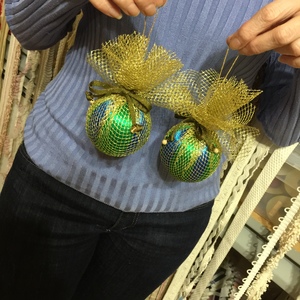
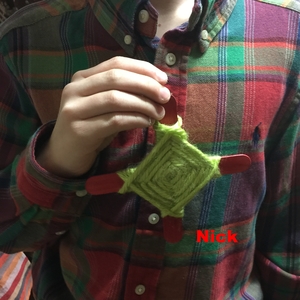
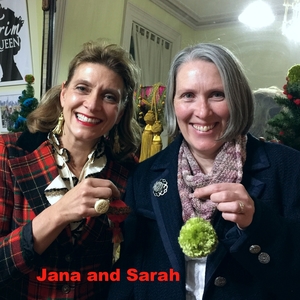
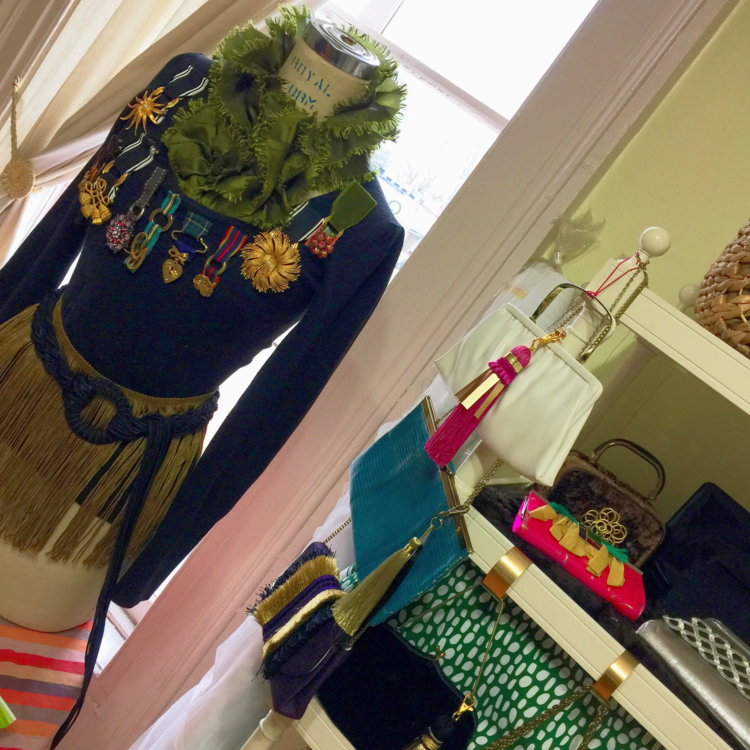
The embellishment is up to you, express your creativity. Here are some that I have made.
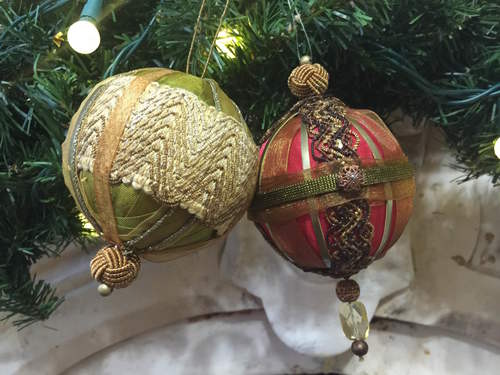
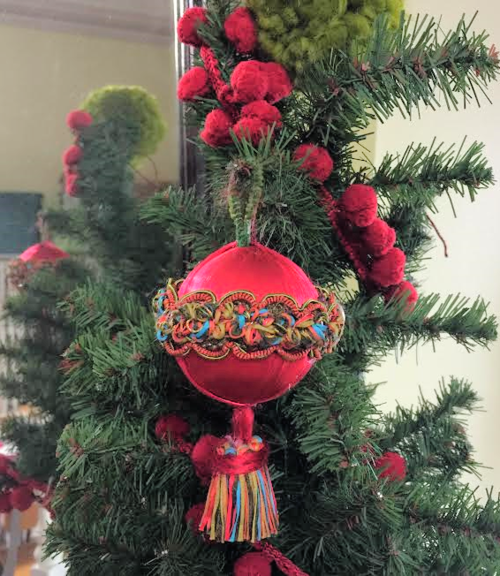
I did quite a few speaking engagements this year about lk about trimmings, but I also discussed how our homes are soulful, if what we fill them with has meaning and reflects who we are. I think these ornaments are so creative and imaginative, and each one really reflects each maker’s soul. Look what we made!

Not only do these friends inspire me, YOU inspire me too, by sharing the creativity in your projects, your #trimspotting and your posts. I thank you for contributing to my art-full life.
So, CHEERS TO YOU!! Have a lovely holiday with your family and friends and I look forward to more creating, sharing and growing in 2016! Remember (note to self), PROGRESS, not PERFECTION!!

5 COMMENTS
Thank you Jana for including us and providing such wonderful materials –inspiring us all to create and have fabulous fun!
– Katie & Mimi
Thanks so much Katie, I truly enjoyed it and loved what you made. Let’s get together more often to create, wait, did you know Big Bang coffee is crafting on Mondays 4 – 6pm? Let’s go!
And now the girls are old enough for a mom-daughter session. Alice and I loved every minute! ThAnKs for the the invite and Merry Christmas Jana.
Thank you Abby, I so enjoyed the camaraderie of creating. Enjoy the ornaments on your tree for a beautiful family Christmas. xJana
Looks like serious holiday fun! Kind of wish guys were allowed 🙂
Comments are closed.