 DIY
DIY
Back-to-School DIY – Personalizing Backpacks w Trimmings
If you missed this post on SmartStuff Social Station in your back-to-school frenzy, I am posting it here because these kids, and their creations, are just too cute and creative! It’s never too late for a DIY personalized backpack, a craft your kids will enjoy and be proud of all school year long.
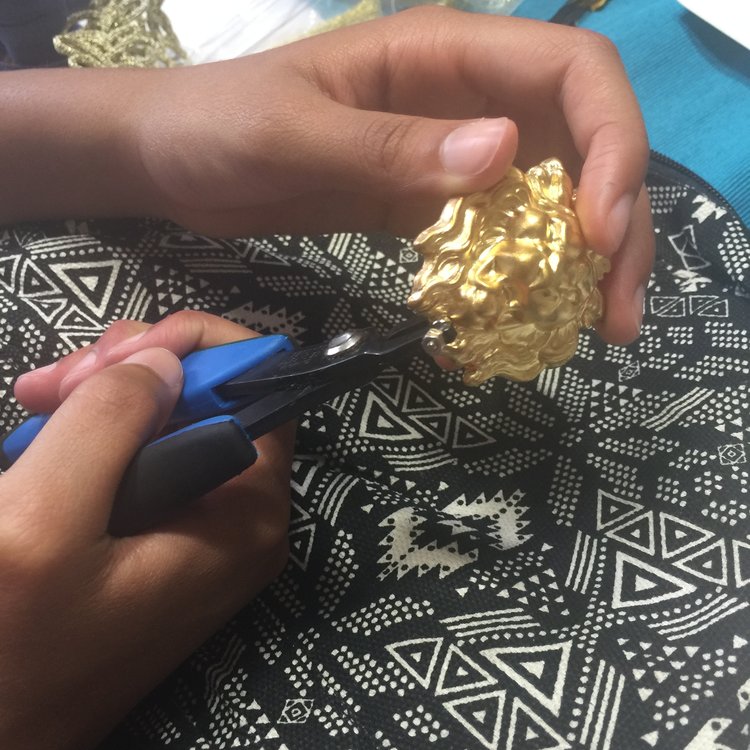
Subsequently, my daughter spotted a pompom kit I got at the HGTV Bloggers Block Party, from the over-the-top, amazing Rachel Faucett of Handmade Charlotte, and decided to test it out. Turns out Rachel’s hot-off-the-press Cutie Fruities are #KidApproved! Giovanna added it to her backpack. Check out the fun video she made documenting the easy and fun the process.
If you embellish your backpacks, I’d love to share your creativity, just tag me @TrimQueen or #TrimQueen #BackPackArt. We’re sharing some fun ideas to get your started.
I invited friends of my son and daughter to come to the Trim Queen studio for an afternoon of backpack decorating. I bought a few plain ones and they brought ones they wanted to embellish. As happens when kids create, there is no hesitation to digging right in. The little kids went right for the button-making machine. I borrowed it from Wilton’s teacher Holly as I’d seen the success of her “button table” at local craft fairs. It’s so easy!
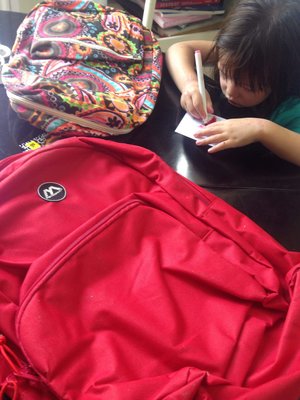
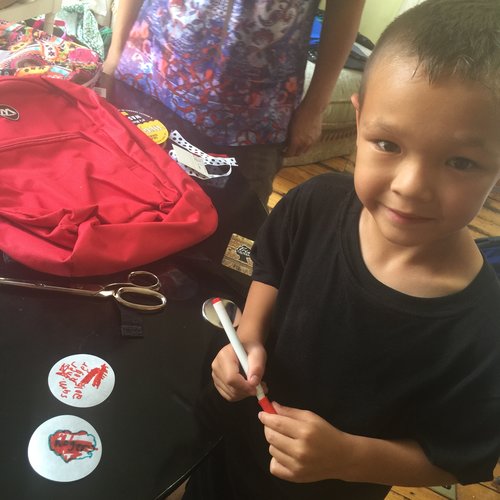
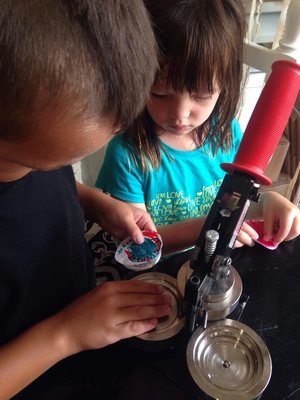
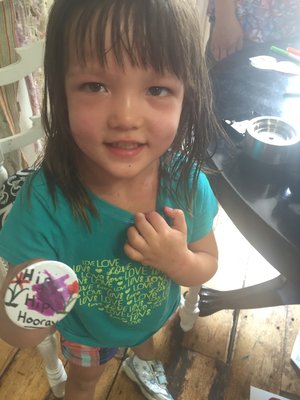
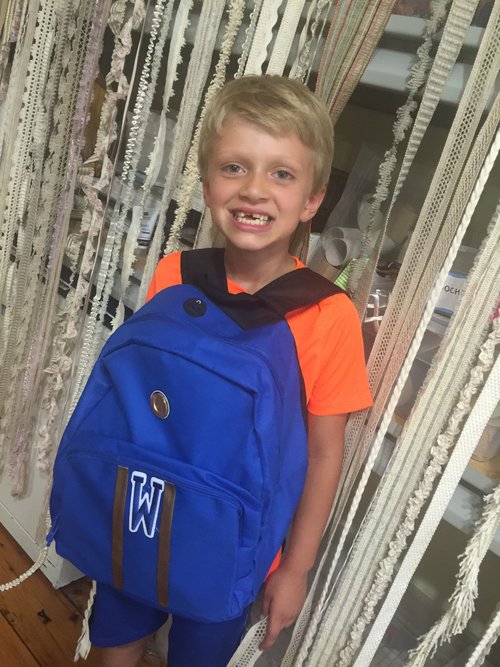
First you make your drawing in the paper circle, then you layer the metal circular mold, artwork and mylar, and press the machine and it sucks up into the shaft of the button press. Then you rotate to the second shaft and add in the pin mold, press again, and voila! it’s a real, professional button! They wanted to do it again and again. Wilton said, “It’s like seeing my name in lights!” (He just finished his first theater workshop and has the drama bug).
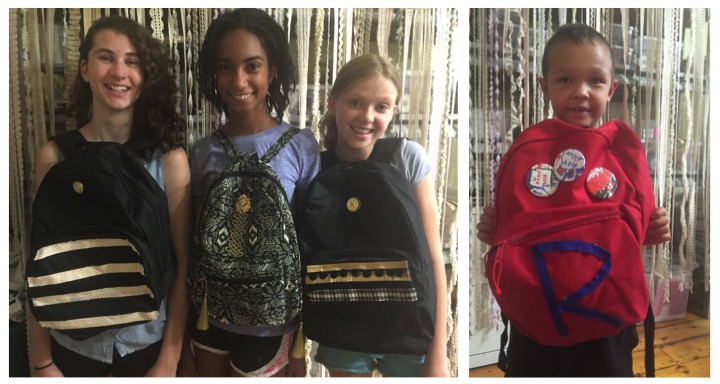
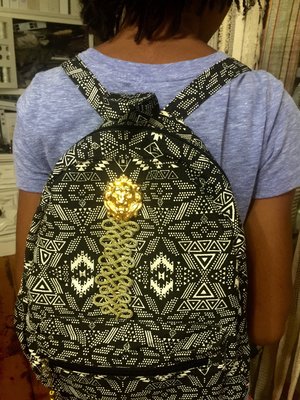
Meanwhile, the older girls stood at my work table with their backpacks as canvases, layering trimmings, pompoms, ribbons, buttons, tassels, and consulted with one another like real pros.
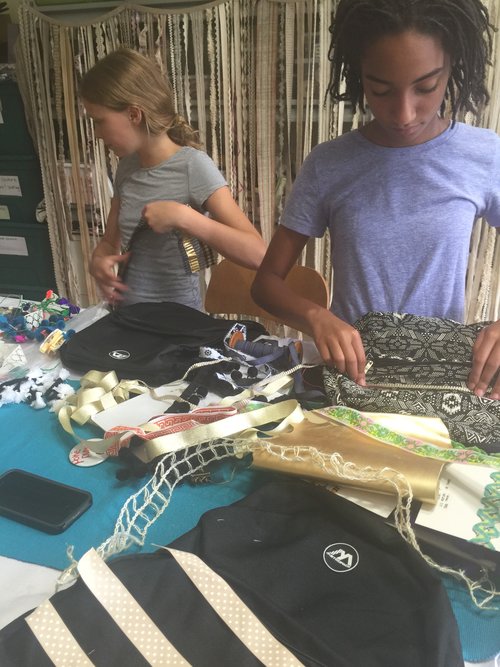
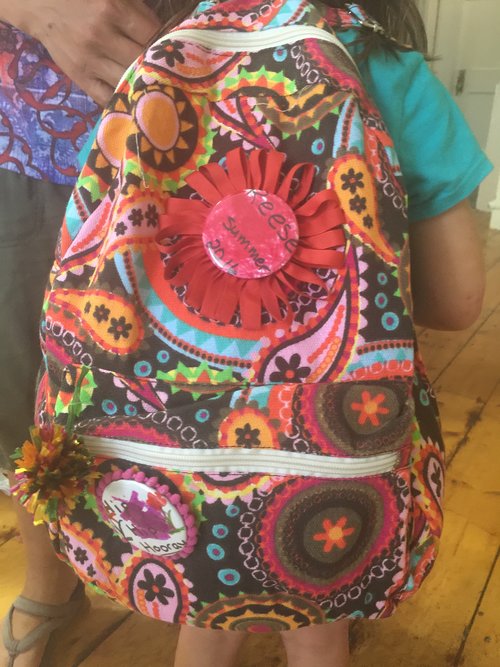
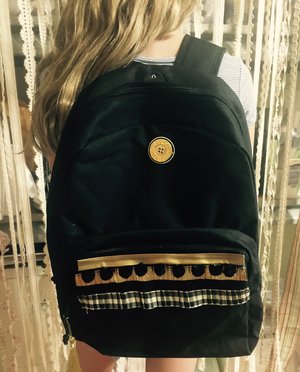
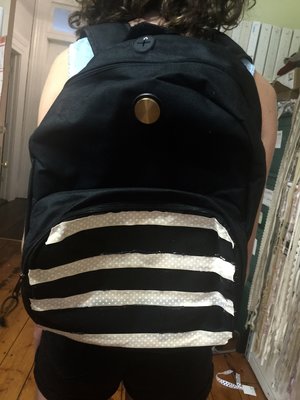
They used hot glue and used some needle and thread to affix their trimmings and embellishments. I was so preoccupied helping the little ones that the girls didn’t get much assistance from me, but turns out they didn’t need it. I love how these turned out! Each one unique and apropos to their personality.
My daughter Giovanna gets “annoyed” with my trim-centric sensibility but this afternoon her sophisticated design, and patience in making, really made me a #proudmomma.
If you want to try this craft, you can decorate with whatever is on hand, using your backpack as a blank canvas. The button machine was a BONUS for our session, check them out here!
We used these materials:
Backpacks
Trimmings: ribbons, tassels, pompoms, patches etc.
Scissors
Needle & Thread
Iron
Hot Glue
Badges or Iron on letters
Button Making Machine (buy or borrow)
Paper
Markers or colored pencils
Stickers optional
I hope your summer has been enriching and relaxed, and getting back-to-school is an easy, joyful transition.
Happy crafting!

4 COMMENTS
What a great idea, and beautiful results.
Aren’t they cool? These kids will never grab the WRONG backpack at school. I love their proud smiles! Thanks for stopping by the blog 😉 Jana
Great idea. I know my grands would love to do this. Love all the creativity the children shared with us.
Thanks Trish for stopping by the blog! Anytime you want a grab bag of materials, you know you have the inside track. xJana
Comments are closed.