 DIY
DIY
Merry Making – A Couture Wreath
Each year I host a holiday maker party at my studio. Some friends bring projects and others show up to get inspired to create. We were such busy elves creating a DIY couture wreath this night that we barely touched our libations!

Everyone left with something they created themselves. What I enjoy the most, is seeing how others invent new ways to use materials. It was a colorful, talented and fun crowd.
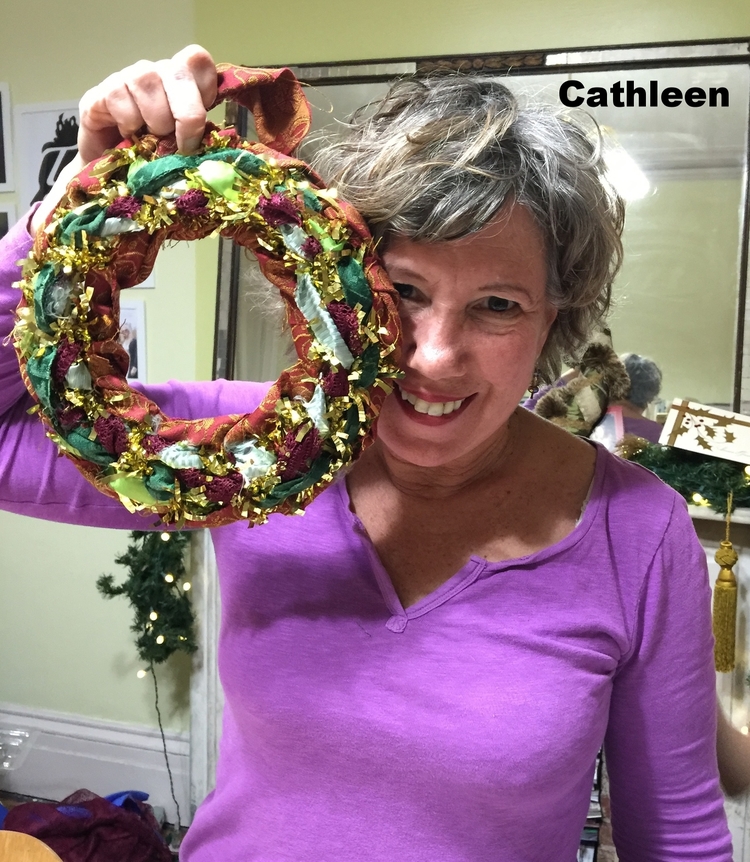
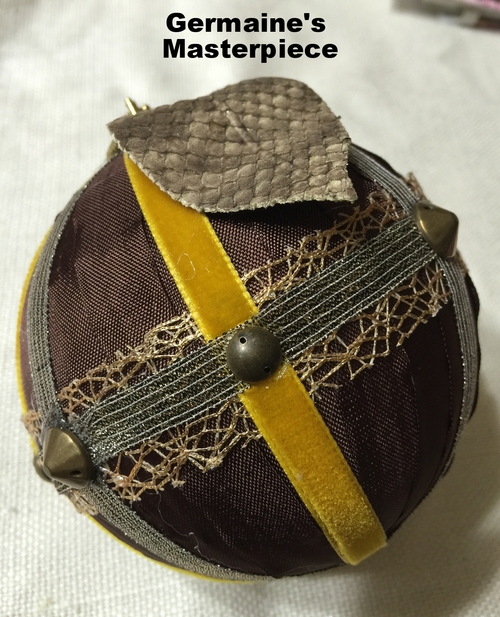

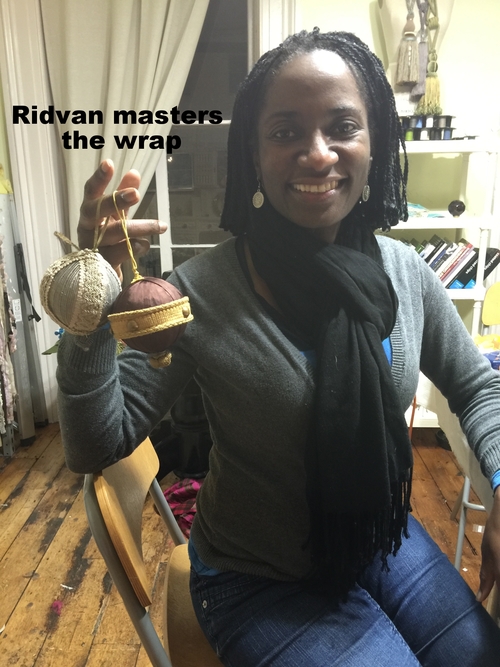


We made paper ogees with trim accents and ribbon wrapped ornaments. But the show stopper was the trim wrapped wreath. I’ve made quite a few over the years and have both saved some and gifted some. I had a new design in my head and it took the relaxed maker night to nudge me to finally do it.

Making the “couture wreath” is a little time consuming, but isn’t hard to make. It’s enjoyable mixing all the materials. To make one yourself, you will need:

The batting isn’t necessary but I love how it makes the wreath look upholstered in the end. You can use any fabric you want, most important is the color, this will be your base and generally, having a bit of contrast to your trims is preferable. You will also need trimmings, of course.

You can use anything you want, brush fringes, tapes, braids, ribbons. I found some wrapped balls I had bought in London a few years back, so I added them into the mix.
Now the tools you will need.

Step 1: Cut the batting into 4″ strips. Wrap the wreath securing the beginning and end with straight pins. You can build it up as much as you want but I used just one ply here.


Step 2: Cut the fabric into 4″ strips and wrap over the batting. If the strip doesn’t go all the way around, determine a back to your wreath and pin it there and start a new strip to finish the wrapping. I cut the selvage and tear the fabric but it all depends on the material you use. You can also use a wide ribbon of course.


Step 3: Once the wreath is covered in fabric, you will wrap it with your bulkiest trim. I used a brush fringe here.

Step 4: Keep criss-crossing your trimmings until you get the desired effect and colors you want. There is no right or wrong way to do it, just have fun with it. I always use trial and error to figure it out what combo I like best and which way to cross for best effect.


Finally…voila! Your couture wreath, fit for Christian Lacroix!

If you missed the maker party this holiday, do not fret. I will have another one in the Spring, so stay tuned.
I want to take this opportunity to THANK YOU you for the encouragement you have given me this year. Your sharing of creativity and trimspotting continues to motivate and inspire me. I wish you a joyful and peaceful holiday surrounded by loved ones, and a halo of creativity to follow you throughout the New Year.
Merry Making and Happy Holiday!


1 COMMENT
Love the blog! It was so great to connect with you today. I will post a link to your blog on mine. Love seeing all this trim!
Comments are closed.